youtube facebook twitter instagram
Drevet av Blogger.
  • Hjem
  • Nettbutikk
  • Designteam
    • DT Sissel
    • DT Kirsten
    • DT Anita
    • DT Linda
    • DT Annika
    • DT Helle
    • DT Cathrine
    • DT Elin
  • Om oss
  • Kontakt
  • Maler & tutorials

HOBBYKUNST

 This coloring is sooo easy, anyone can do it. This Christmas card design is sooo simple, anyone can do it. This is a very good card to duplicate easily and quickly many, many times.


This stamp is an old Tim Holtz stamp from my stash. While not available at the moment, there are a number of Tim Holtz stamps that would be equally perfect for this style card. This one would be perfect!

I stamped the image and the sentiment from Mathia's typograf stampset in black ink on a card panel. I took my Copics and chose a light and a dark for each color family - R27, R20, G09. G02, C4 and C2. I used the lighter color along the edges of the coloring area and the darker in the center.

I then ran the card panel through my Big Shot with the MFT Wonky Stitched rectangular die. I attached my card panel to my card base and it was all done. So simple, so easy but still so nice!

Until next time...
Dawn

09:00 No kommentarer


I am *always* in the mood to make Christmas cards. If I could make nothing but Christmas cards, I would be a very happy girl. 😁 So I started a bit early this year.


I first stamped various snowflake stamps I have in my stash (but you could do this with dies as well), with Broken China and Prize Ribbon Distress Inks on a card panel. Once they dried, I stamped more snowflakes with embossing ink and heat embossed them with a silver sparkly embossing powder. Once they had cooled, I stamped a few more snowflakes again with embossing ink and heat embossed them with white embossing powder. 


I stamped Mathia's sentiment from the Nedover tekst stampset with Broken China Distress Ink and then trimmed the panel. I took another card panel and ran the Prize Ribbon stamp pad around the edges so it would frame the smaller panel.


I attached the panels together with Scor tape and attached them to my card base. 

I thought about adding a few pieces of bling to the card but I thought the sparkling embossing powder was blingy enough.

Until next time...
Dawn

09:00 No kommentarer

 So, I was relaxing after having cooked dinner and cleaned the kitchen when I noticed the date, 13th of November. Startled, I jumped up and ran into my office. The 14th is my day to blog and I have been sooooo busy with getting things ready for Christmas markets, that I had completely lost track of the calendar!

Normally I can quickly color something up but I still had to bathe my son, get him ready for bed and get all of his stuff ready for school the next day, err, today!

But, luckily I use a lot of Maja Design paper on gift boxes and all of my scraps were just sitting on my desk. Here's where the 5 minute card came to life.


Now, I normally don't use design paper outside of Christmas, I color or paint everything. But let me tell you, I was very happy to have this on hand to make this post! I used scraps from 3 pieces of 2022 Maja Christmas paper - Mono blue, Stardust, and Ephemera.  

I cut a piece of Bazzill 15cm x 30cm and used that as my card base, once folded. Next I layered the smaller pieces in random but symmetrical places and glued them all down. I took the image and gave it a little dimension with foam tape. 


I thought it looked nice but needed just a little something so I grabbed a bottle of Nuvo drops and added them in random places on the card. In the pictures the Nuvo is still very wet!

And that is how you throw together a quick, sweet Christmas card when you need one in a rush!


Until next time....
DT Dawn


09:00 No kommentarer

 I'm a big fan of Clean & Simple cards. I like how much white space surrounds the image to make it really pop out. And I like coloring so C&S works for me.

I started this card like all others, stamping the cheery, Christmas image from Stamping Bella on to my coloring panel. I use the word panel a lot and realized I haven't defined what that is. It's a layer of paper, in this case, of the cardstock I want to color on. The other panel on this card is the Green glitter cardstock I used to frame the image. 


Then I brought out my festive green Copic color combination to use as the dress color. I use this combo for Christmas a LOT when I want a bright, cheery green - G28, G09, YG09, YG05.

Once the coloring was finished, I trimmed the panel so just a hint of the green sparkle of the background layer would peek out and frame the image, playing off and complimenting the green of the dress.


I then stamped a Mathia sentiment that fit and embossed it. I attached my panels to each other and then to the card base. I then went in with my white gel pen and added the dots and plus signs to her dress to represent it sparkling. One less Christmas card to make!

Until next time....
DT Dawn


09:00 No kommentarer

 I love making Christmas cards. If I could make Christmas cards year round, I would! So we are now in my favorite time of the year to be an artist! I also absolutely adore everything from Stamping Bella. This bundle girl is so cute!!!

I started out by stamping the image on my card panel. I wanted her slightly off centered so I could color in a simple, yet fitting background. I used my Copics to color her up, and drew in the background using 4 different green copics to give the illusion of depth. It doesn't matter which colors you use, as long as you have a light, medium light, medium and a dark color. They don't even have to all be green!

I used my silver Uni-ball gel pen to trace over the lines of the tree lights. A small detail that won't stand out on it's own, but adds to the card.


I then stamped a sentiment from Mathia and embossed it with silver. I trimmed the card panel by 2 mm on each side and cut a piece of purple paper to act as the frame of the card. I attached both panels to my card base and called it done!

Until next time...
DT Dawn

09:00 No kommentarer

 I've already started designing Christmas cards for this year! I know it's only September and the coffee shops have just started selling pumpkin lattes but really, is it ever too soon to start with holiday cards?

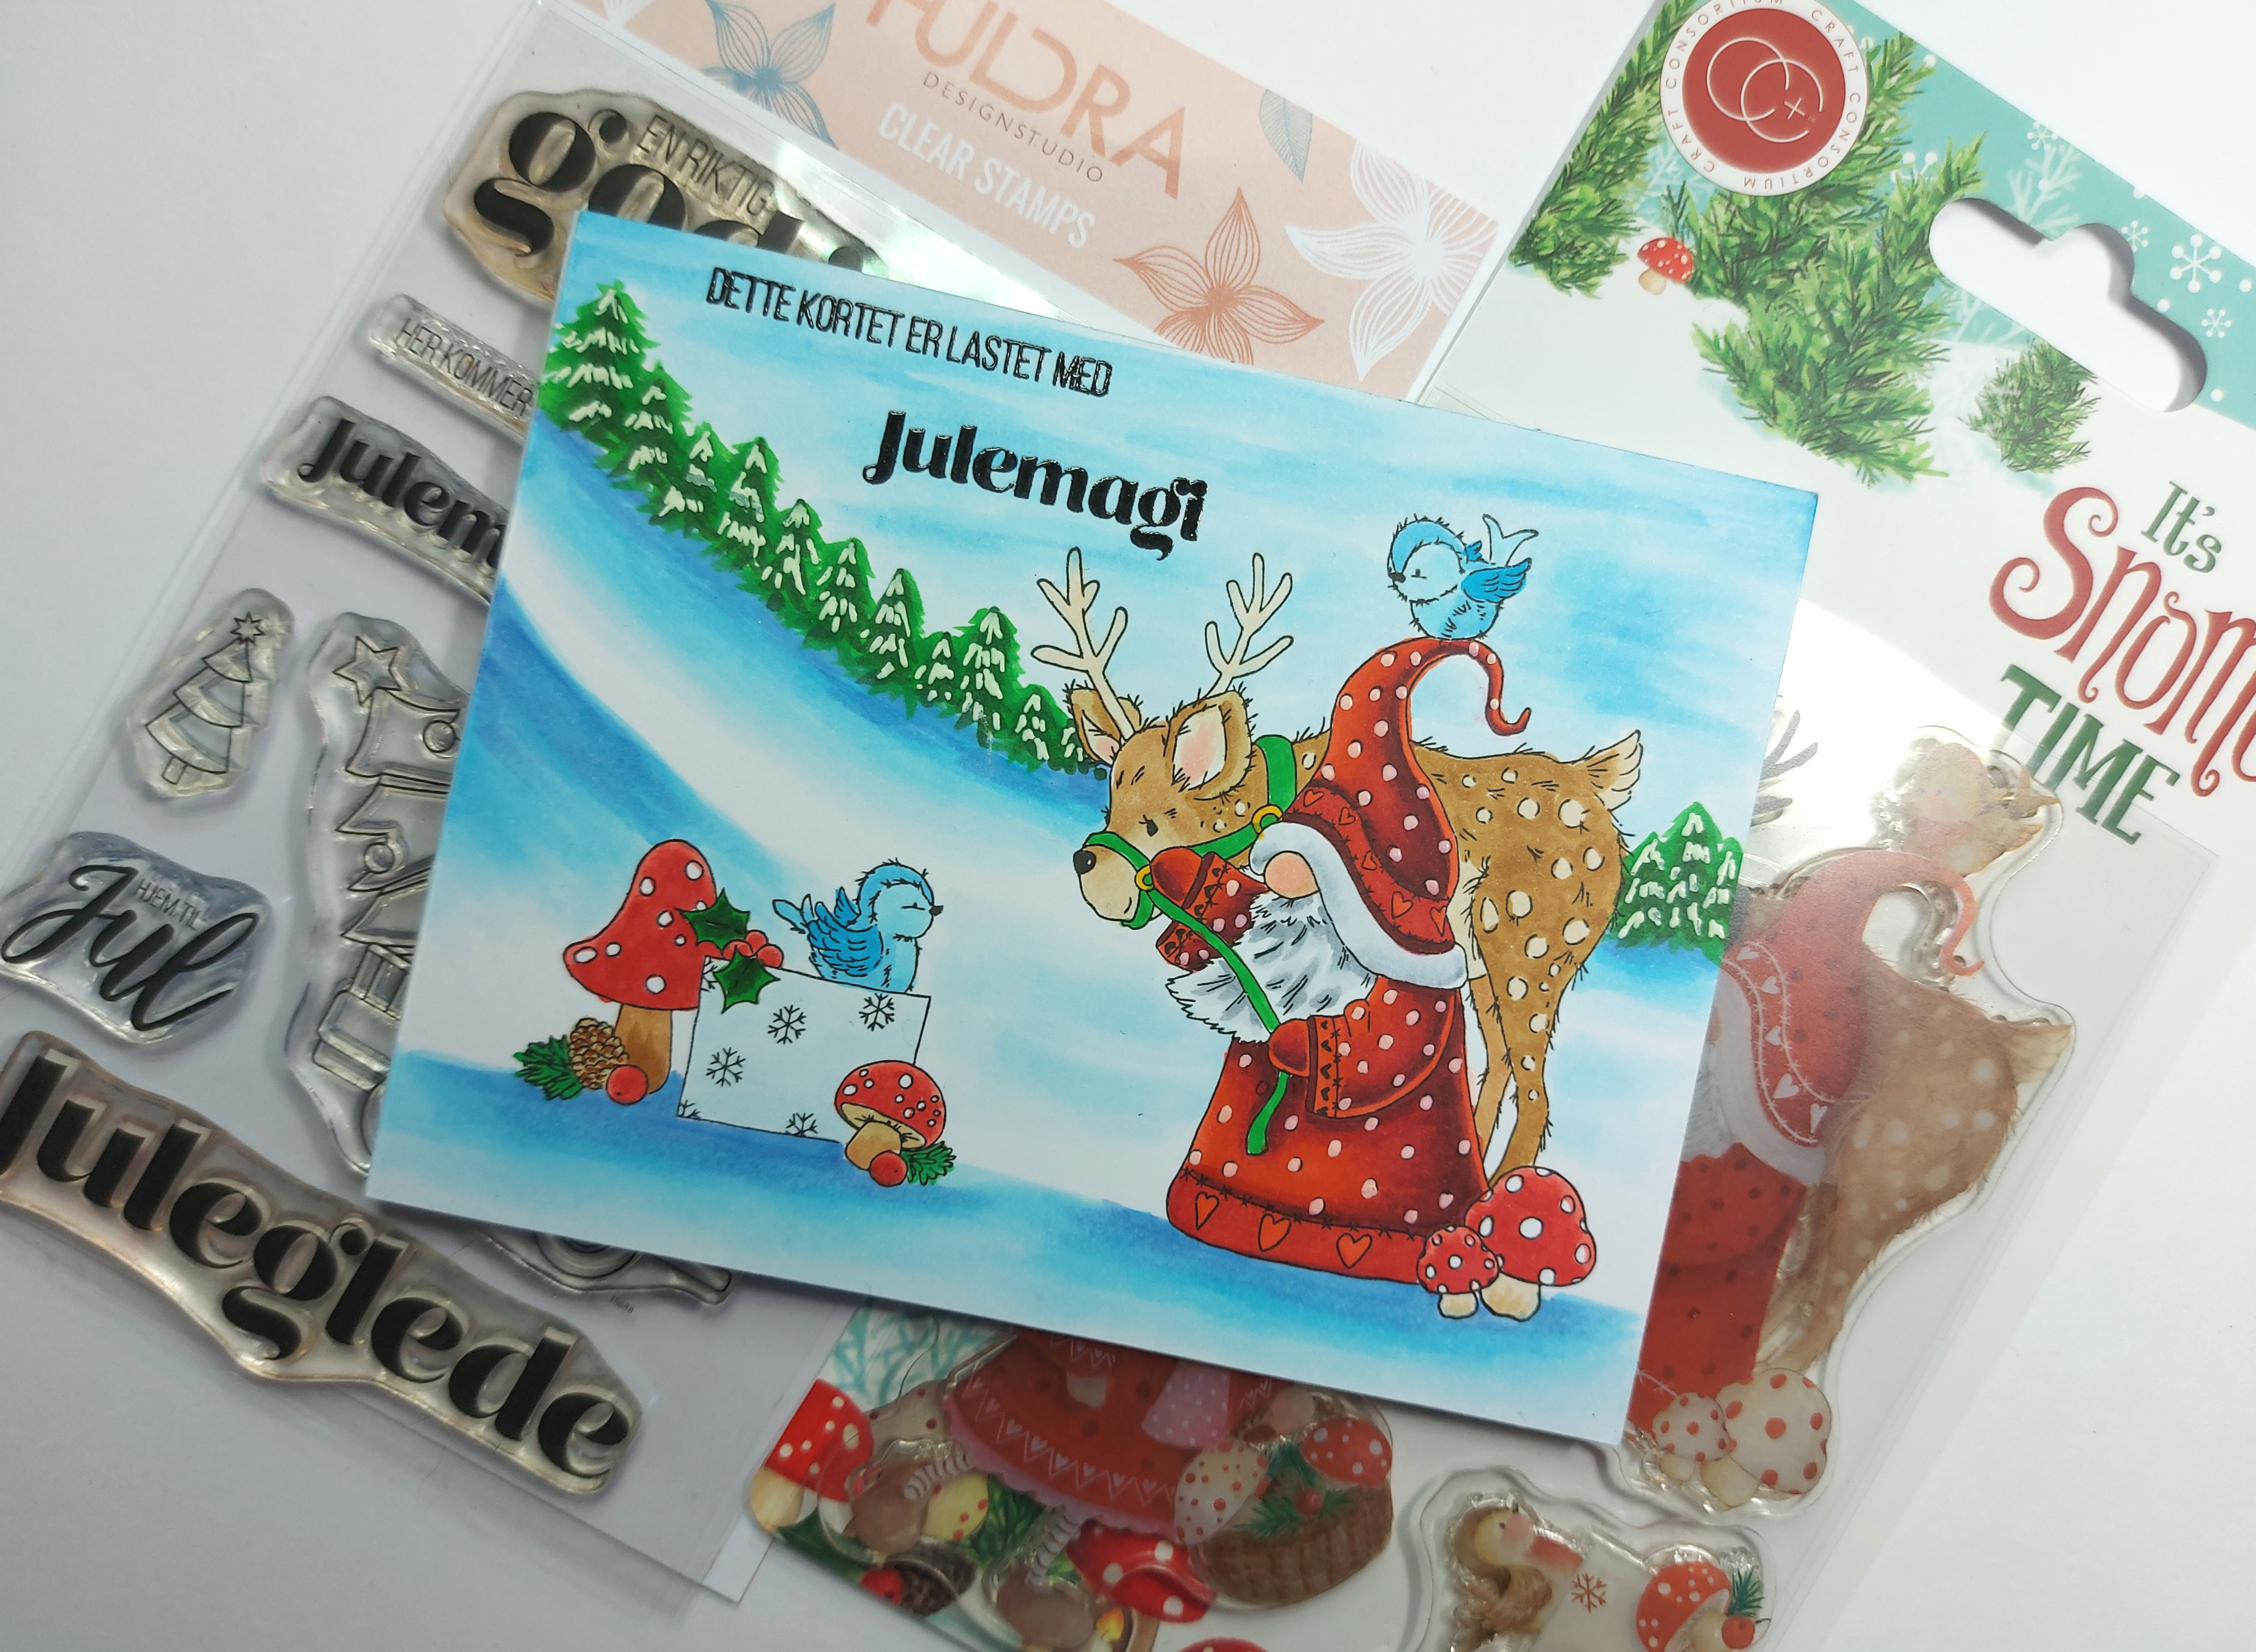
I'm kicking off my holiday card series with a simple winter scene using a stamp set called Mr. & Mrs. Snome. Snow + Gnome = Snome. So clever, right?


I stamped out Mr. Snome and a gift accessory on Neenah cardstock and colored them in with Copic markers. I then colored a simple, wintery background, also with Copics. I try to keep backgrounds relevant to the card but simple or boring enough so the subjects take the center stage.

Once it was all colored, I stamped the Huldra sentiment in Versafine ink and clear embossed it. I cut and score my card base and attached the colored panel. Finally, I used a white gel pen to add snow to the trees and dots on his clothing. Typically I color over little details like that and just add them back on later as it saves a lot of time and often looks better in my opinion!

Until next time....
DT Dawn


09:00 No kommentarer
Older Posts

Om oss

Her finner du HOBBYKUNST's blogg, et univers av kreativ inspirasjon fra vårt dyktige designteam. Hver uke blir bloggen oppdatert med forskjellige bloggposter av alle slag, og vår drøm er å få flere folk til å være kreative!

På Karihaugen i Oslo finner du vårt fysiske kreative univers, med over 16.000 produktenheter, kursrom og ikke minst fagkunnskap om våre produkter. Designteamet jobber med produkter fra vårt sortiment, og her kan du lære mye i tillegg til å få inspirasjon fra din favoritt designer.

Følg oss

Følg oss gjerne

Totalt antall sidevisninger

Søk i denne bloggen

Labels

3D 49andmarket ATC Aktiviteter Album Alexandra Renke Alkoholblekk Alter American Crafts Art Journal Avery Elle Baby Barnehobby Bazzill Betong Betongpaste Bind it all Bo Bunny Bordkort Brettekort Butikken CAS Carabelle Caran D`Dache Carljin Design Chalk Paint Ciao Bella Common place Copic Copics Crafter's Companion Crealies DIY DT Anne Lise DT Benthe DT Connie DT Dawn DT Franca DT Helle DT Janne DT Kirsten DT Sissel Anita DT Susanne Decoupage Dies Distress Crayons Distress Ink Distress Oxide Dåp Embossing Extreme Sheen Farsdag Favorite things Garn Generell Hobby Graphic 45 Home decor Huldra Designstudio Inkon3 Jul Julekalender Julekort K. Creul Kaisercraft Kalender Katzelkraft Klippeark Kortlaging Kurs LDRS Creative Lawn Fawn Layout Ledlys Lerret Little Darlings Lommescrapping Maja Design Mal Maling Mathia Mathia Design Mathia stempler Mathiablomster Minialbum Mixed media My Favorite Things Neat and Tangled Nuvo Nyheter Oppskrifter Papirdesign Papirprosjekt Picket Fence Pion Planner Pretty Pink Posh Prima Produktanbefalning Project Life Påske Påskeegg Rayher Rayher dies Reprint Rustmaling Scrapbooking Simple Stories Sjablong Smykker Solo Goya Spellbinders Stamperia Stamping Bella Steampunk Stensil Studio Light Studiolight Svarta Fåret Tag Teknikker Tim Holtz Tips Tutorial Washitape We R memory keepers Zig Clean Color Brush adventskalender akrylmaling akvaralltusjer armbånd art impressions bakgrunner barnebursdag binderskort bling blomster blonder bryllup bursdag clean and simple craft consortium die cuts fargelegging folie gaveide gaveinnpakning gavepose gelatos gjenbruk glittertape guttekort hero arts herrekort interiør invitasjon julegave julekule julepynt juleverksted kjøkkenkluter klistremerker kondolanse konfirmasjon kork kort leire mathia blomster mathiastempler morsdag mosegummi oppbevaring oxide pakkelapper paljetter pink fresh restepapir shakercard sjokolade slimline småkort snøpenn stempel ull valentine

recent posts

Created with by ThemeXpose